

DESIGNING A BEAUTIFUL GIFT BAG


Seven days
7 days
S E V E N days
1,2,3,4,5,6,7 days till Christmas!
Here is a tip to help you get your gifts “dressed” and under the tree.
If you have followed me for long, you know I prefer “wrapping” a gift, as in a proper box, paper, tape, ribbon… all the things.
However at SEVEN days from Christmas here’s a few helpful tips for designer look gift BAGS. If you have purchased nice designer bags lately you would agree they can be costly- here’s a few tips for you to create your own and won’t break the bank.


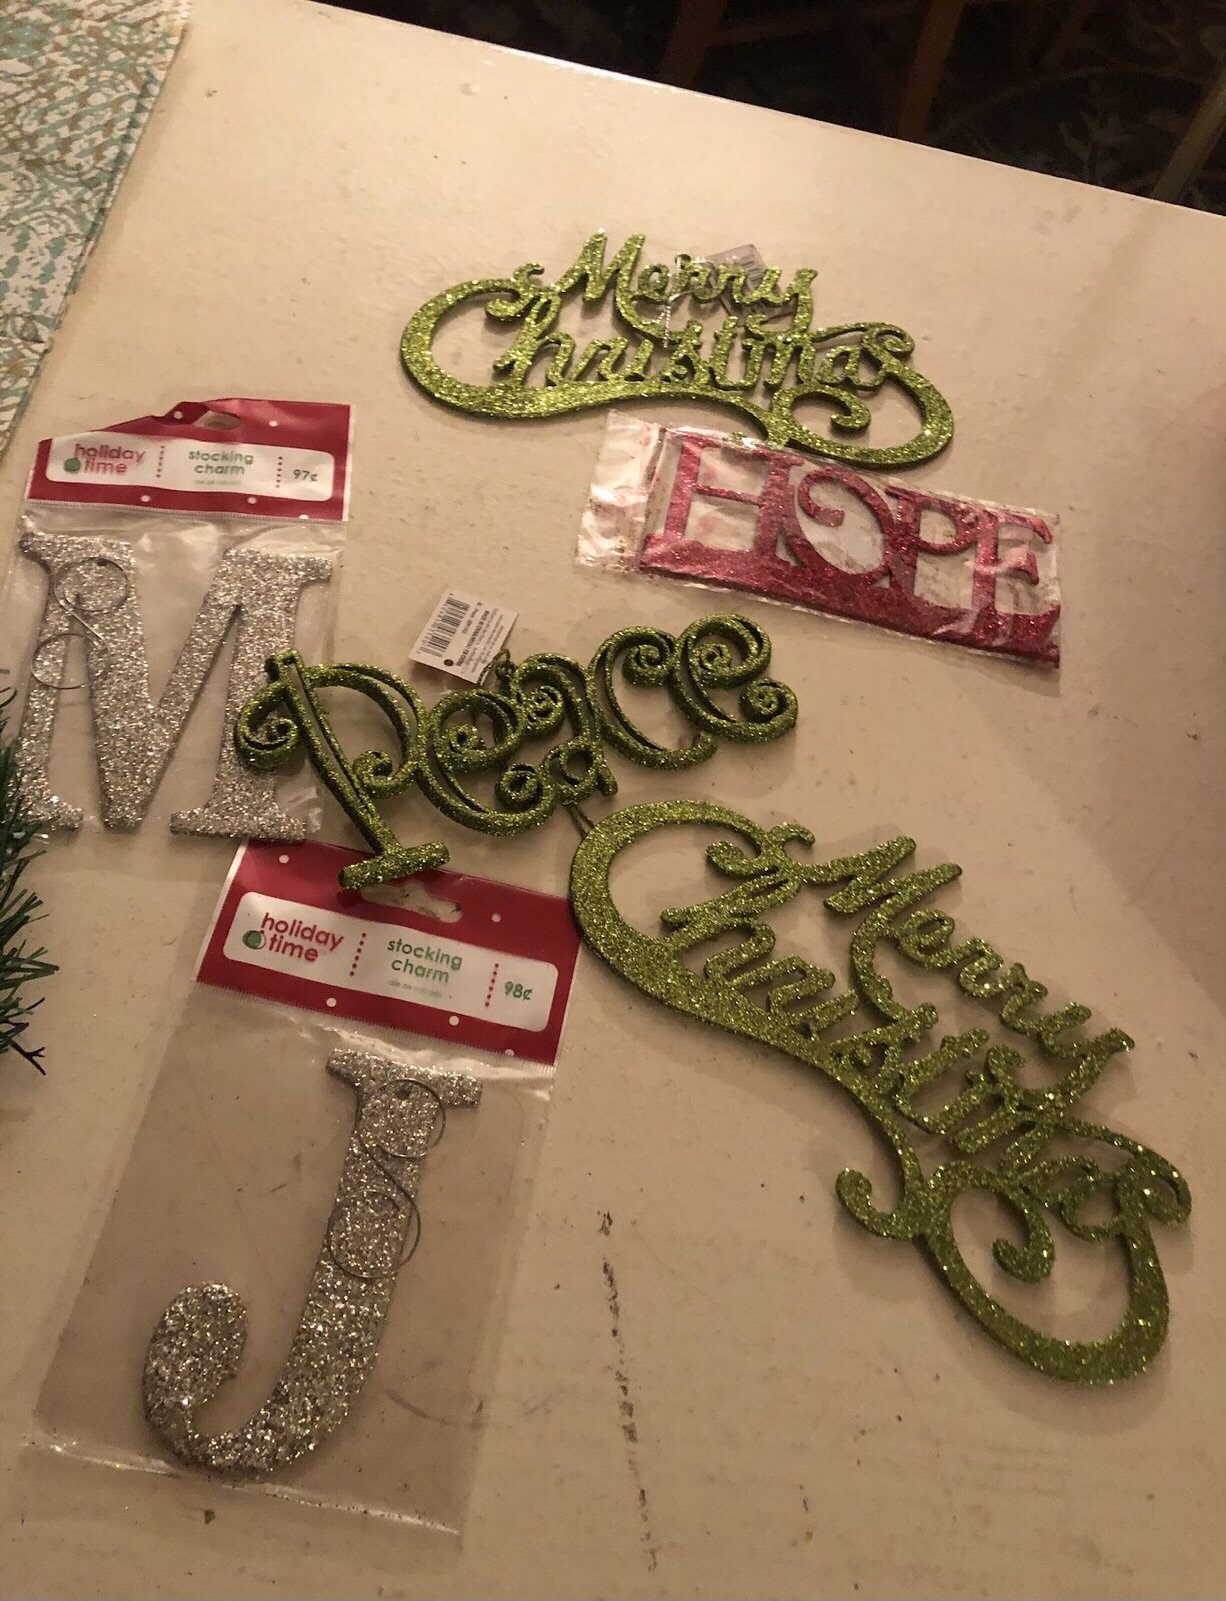

Supplies are simple. (Look at craft stores for a bundle of plain gift bags in Kraft paper style or white. )
Proper size bag
Ornament, pieces of Christmas greenery, berries and variety of ribbon and tissue paper.
Hot glue gun and glue.


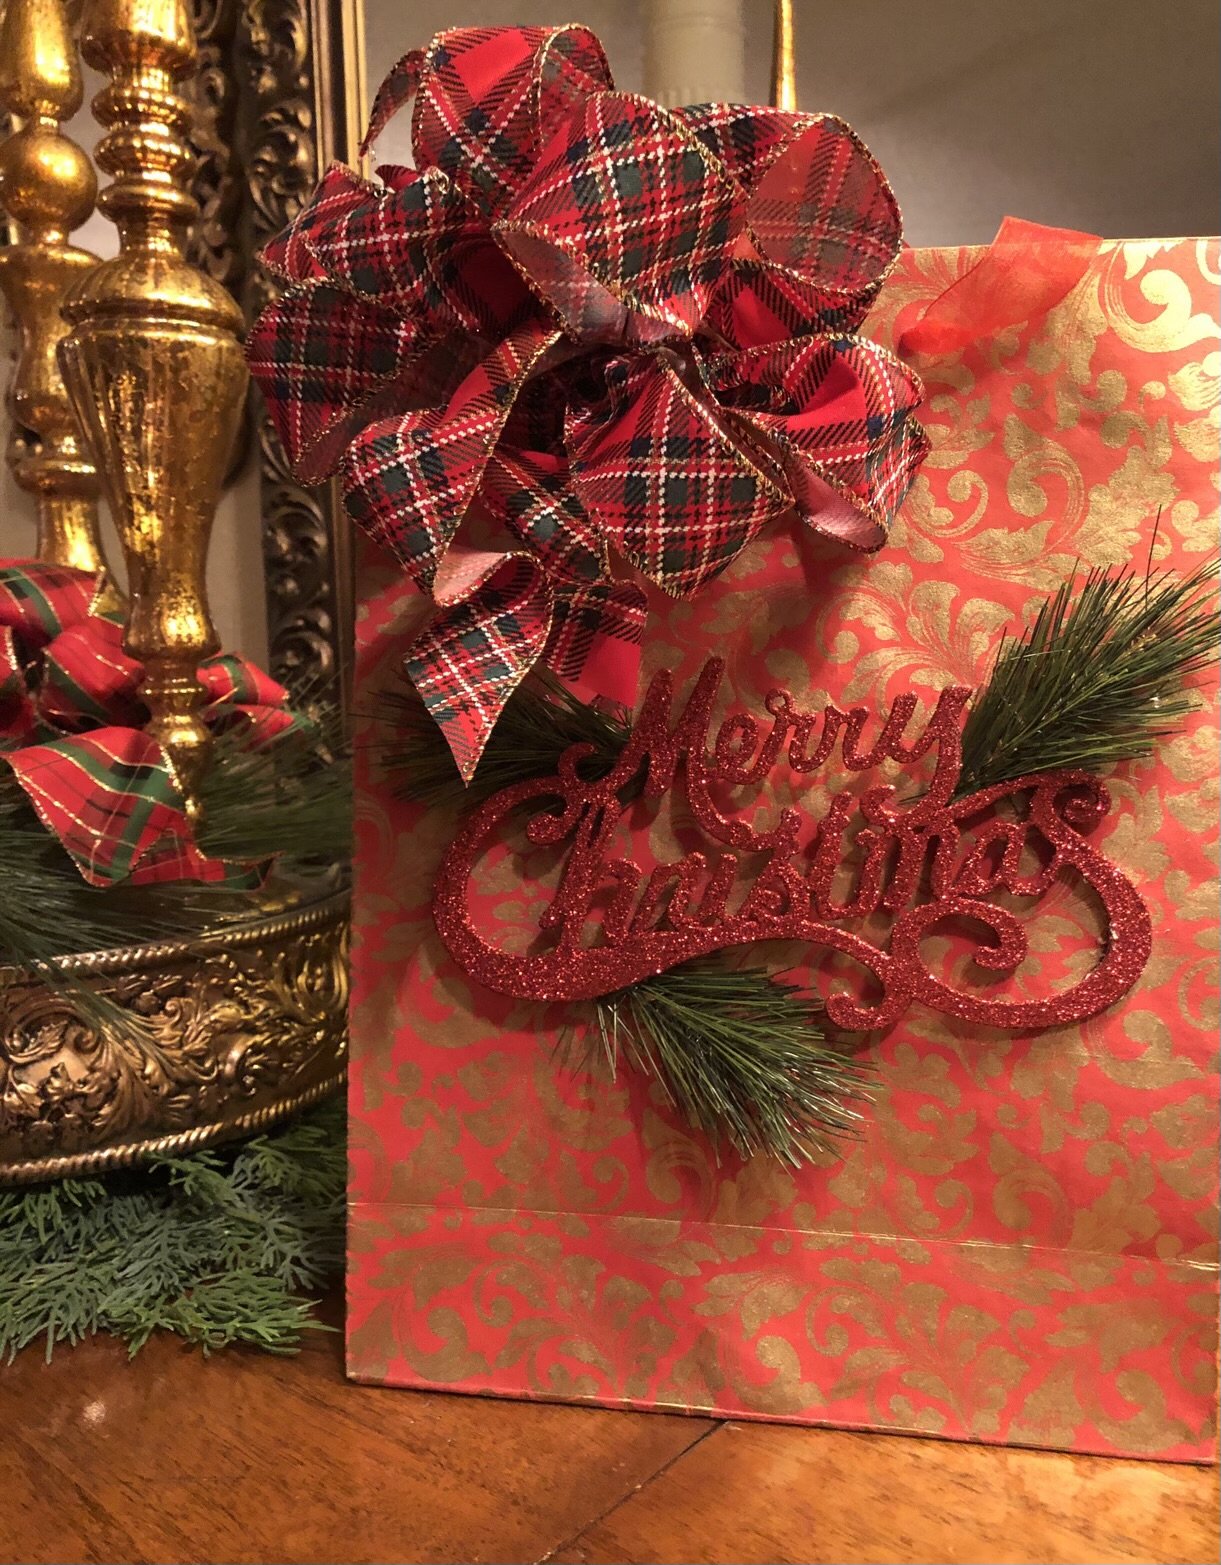
Arrange items on bag to find the best design you like. Simply glue into place. Adding in pieces of greenery or berries adds so much interest as well as uses those small pieces that have come from arrangements or floral picks. A piece of greenery can be made into a small wreath. Add bow.
Even if you choose a textured or lightly designed bag, and you choose to leave bag as is, go ahead and take it to the next level with a beautiful bow!
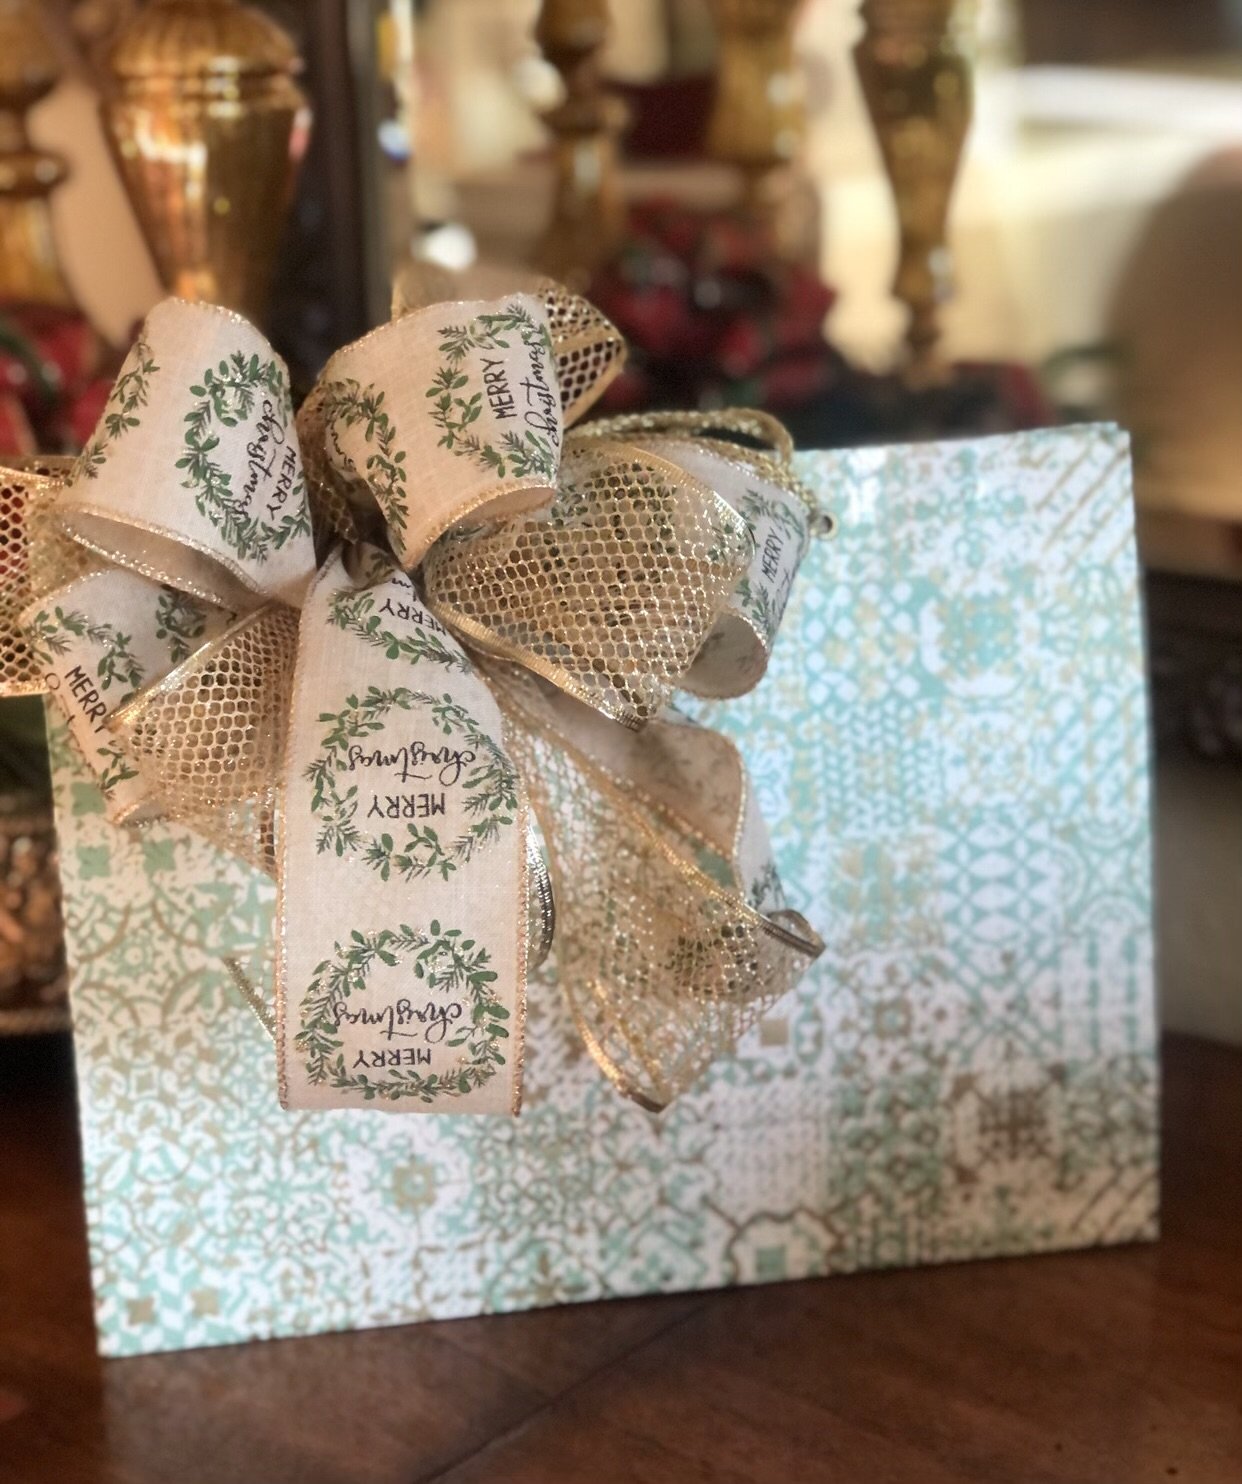
When making a bow … go BIG!
Don’t be afraid to make a statement with your ribbon. Even using several choices of ribbon together, again gives more interest to the eye.
If you have smaller gifts for the office or neighbors here’s a quick idea. Many stores have Christmas themed lunch sack size bags very inexpensive. Add item then fold top over and with a hole puncher place 2 holes on each side and insert ribbon, twine or tulle through and make a bow. You can even add in a touch of decor.
These have gingerbread stress balls tied into tulle. Super cute for hardly any effort or expense.


Creating something unique and saving money is something you can be proud of.
Thanks for visiting Graceful Home
❤️Ruthie